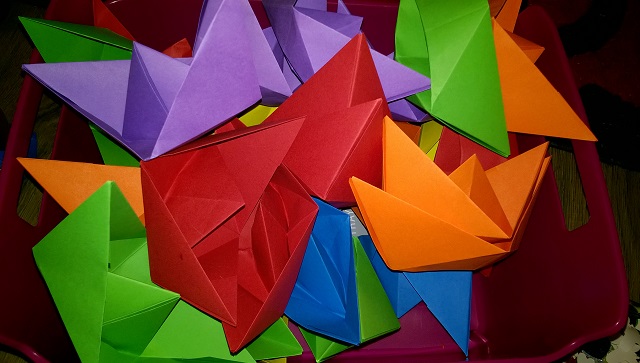
This year we decided to be brave and organize a party for Jasper’s 4th birthday. This of course meant inviting an entire 27 strong group of nursery children. So I decided to make invitations, as nothing on the market in my reach was very appealing.
We came up with the idea of boats, as the party was going to be themed on adventure and things around The World. I knew how to make a paper hat, but no clue on how to make a paper boat. A quick google video lesson and I soon mastered it. I came up with the idea of how to make a mast and sail, and produced something I was happy with. Here is my, hopefully, easy to understand guide on how to make your very own 3D boat invitations.
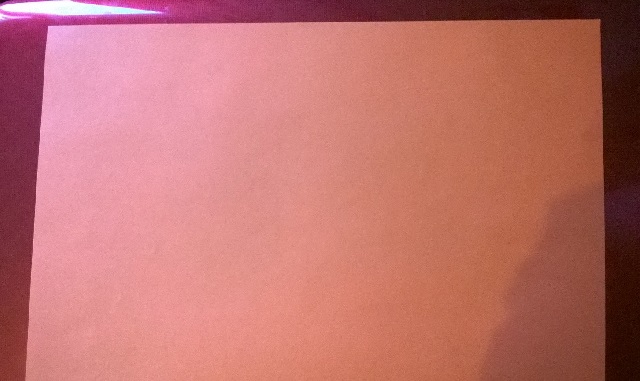
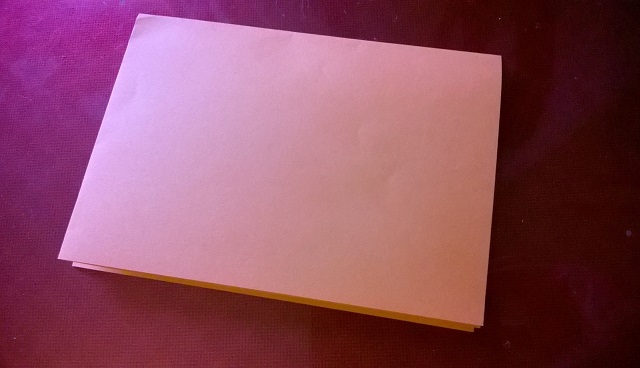
You start with an rectangle of paper. I was working with A4. And fold in half, top to bottom. Them fold again, so you’ve quartered it, but unfold back to half, so you’re left with a fold down the middle.

Next, take the folded edge and bring down the top corner to align along the fold in the centre. Both sides.

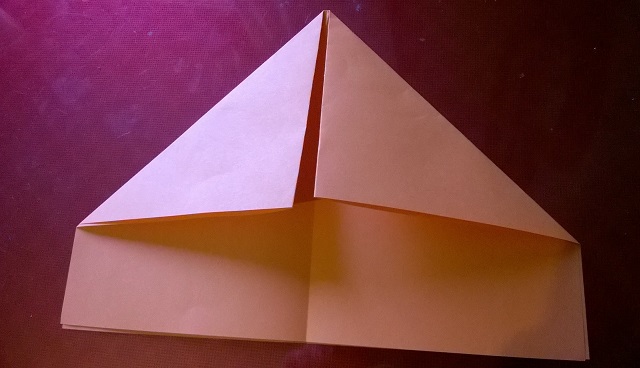
It’s starting to look like a hat at the moment.
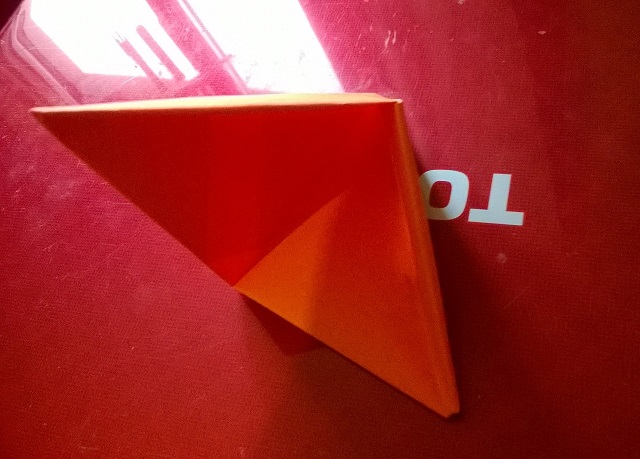
Take the open edge, and bring one layer up, and press the fold down firmly. Turn over and do the same on the other side.
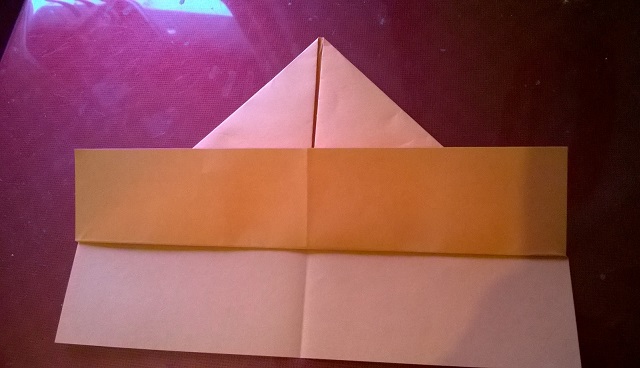
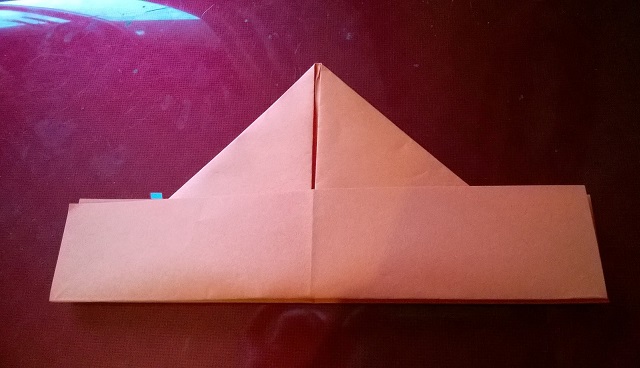
Now you are going to fold the triangular bit over to the other side. With each of the four triangular sticky out bits. Two on one side, then turn over and do the other side.


Still with me? Trust me when I say that once you master it, you’ll be able to rustle them off without a thought.
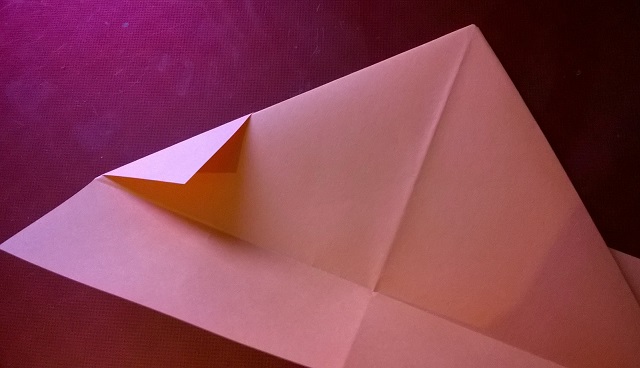
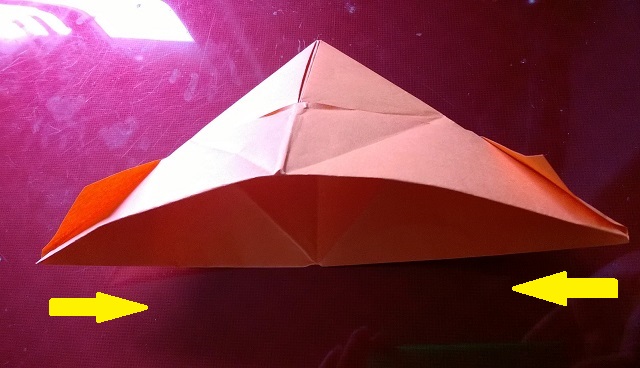
This next bit involves opening up the gap at the bottom, and you’re bring together the two corners. Thus folding it down the other centre point. I’ll try to show you in the next photo.
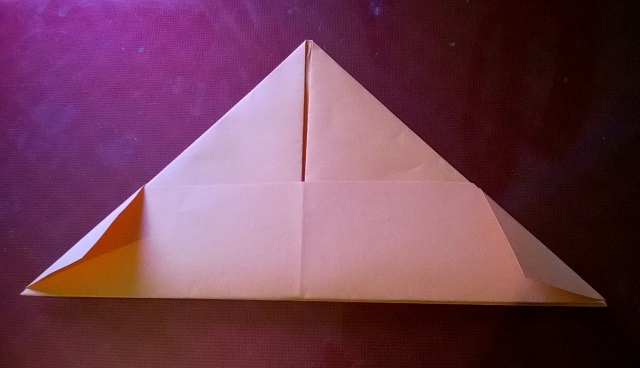
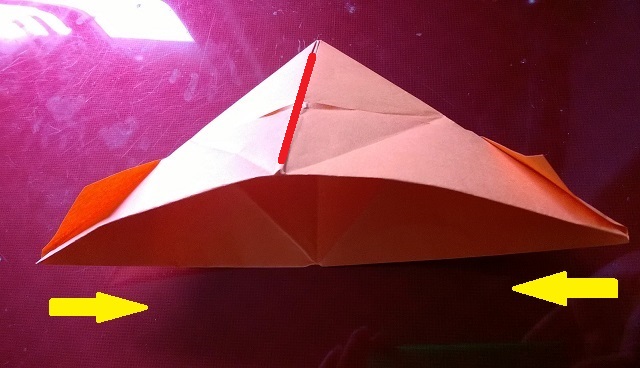
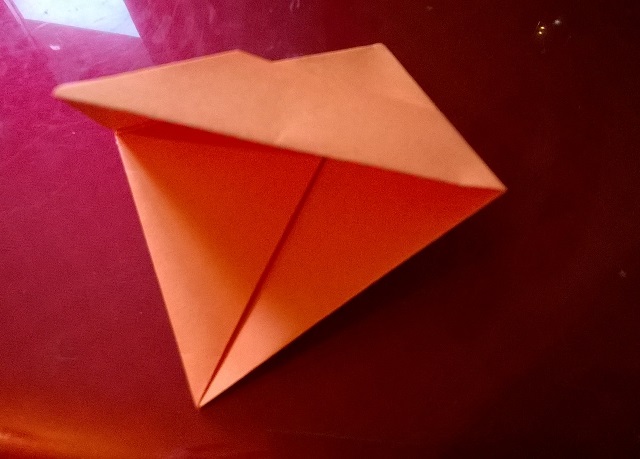
You’re going to be folding down the red line, and you’ll create a diamond shape.
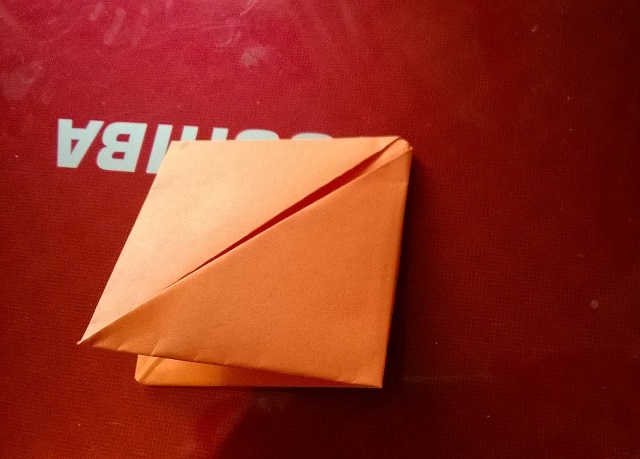
Hold the diamond shape with the open end at the bottom. Now fold up one side, halfway, then the other, so you form a triangle.

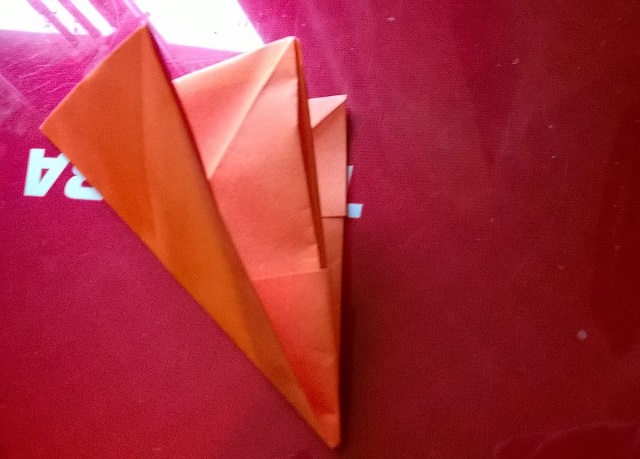
Getting there.
Hold the triangle with the gap at the bottom. Put your thumbs inside, and you’re going to open it up a little, then fold on the opposite half way point again. You’ll be left with a square, with an opening at the bottom.
This next step is the final one, and you’ll soon see a boat. Hold the square, with opening at the bottom. Notice the two triangular points slightly move apart, well take these points and pull apart. Inside is another point in the centre, which will become the centre of the boat. Keep pulling apart, and you’ll see your boat taking shape. You may need to manipulate the shape a little, and ease the folds from underneath. I find putting my fingers up in to the centre triangular shape helps shape it. I also pinch the underneath edges to make more definite folds/creases.
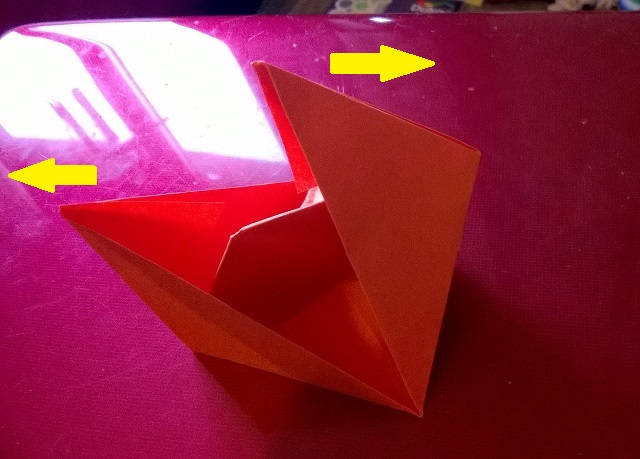


And there is your basic boat shape.
Now to adding the extras.
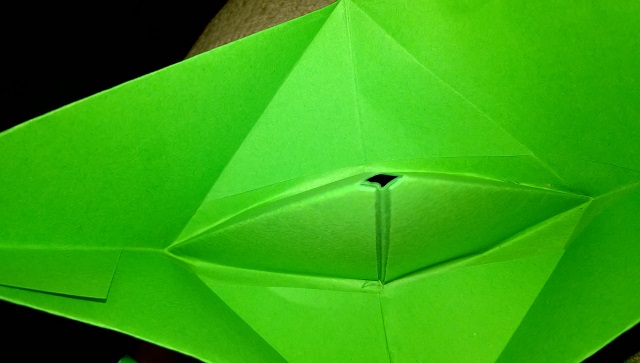
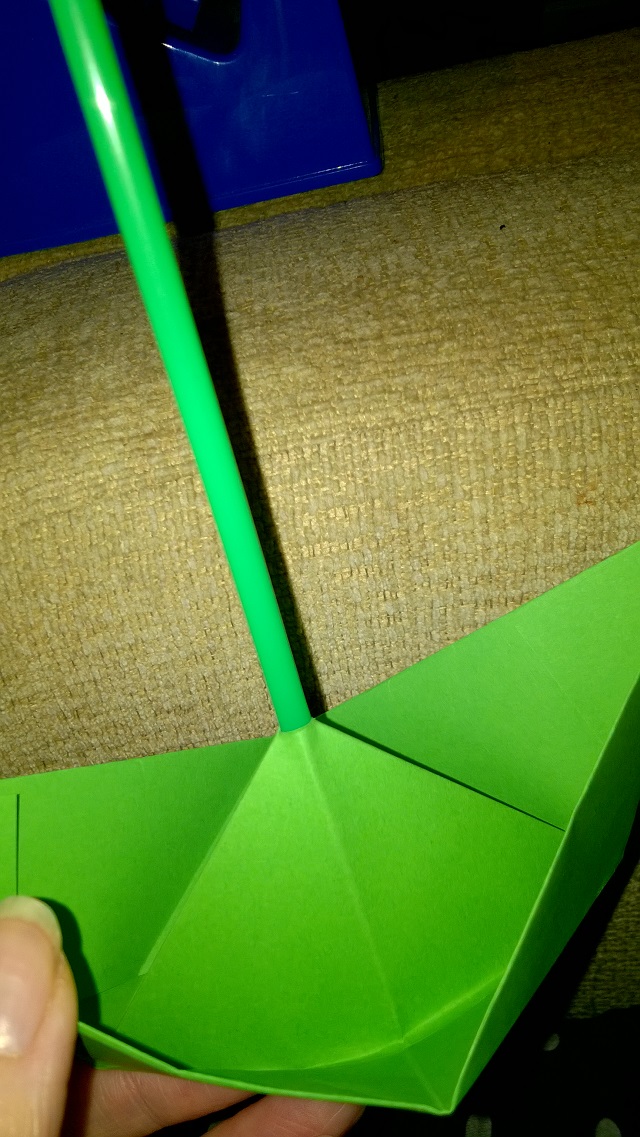
For the mast, cut off the very top of the middle triangular peak. So the hole is big enough for a straw to go through.
 Push a plastic bendy straw through from the bottom upwards, with the bendy part at the bottom. Don’t push the bendy part through.
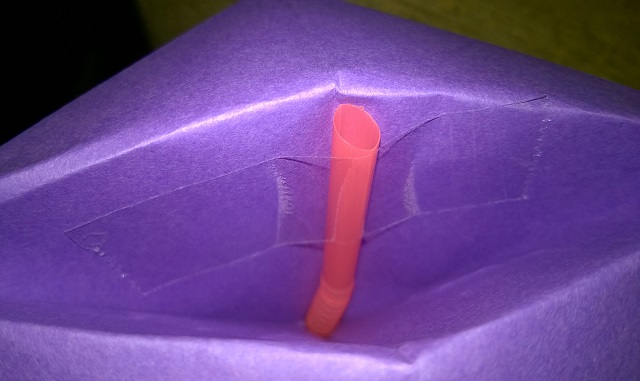
Now tape the bendy part down with some sellotape to the inside of the peak.
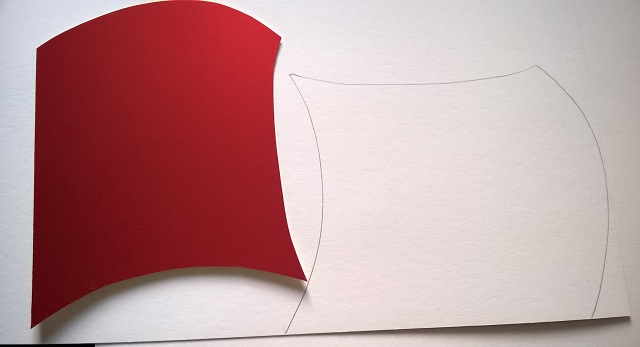
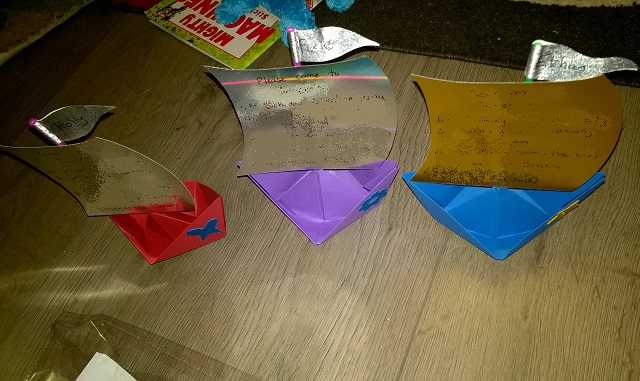
To make the sails, cut from coloured cardboard, and glue on to the straw with a glue gun. Remember to write the invitation part on the sail before you glue on.
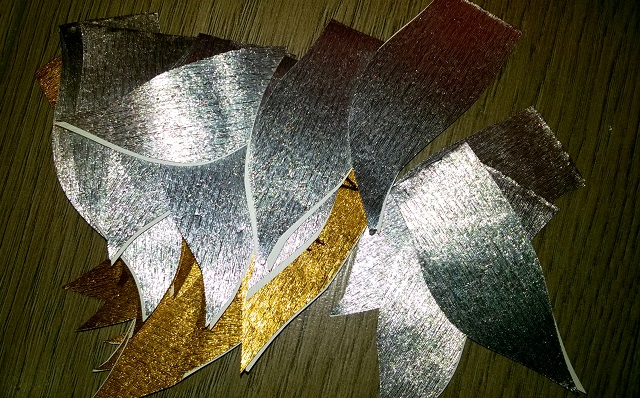
I made little flags to go on the top of the mast to write the names of the invited children on. Cut them out of crepe paper, so they were double the shape and could then be glued on with PVA glue.
I finished off with decorative stickers on the hull of the ship, popped a sweet inside the boat and put them in individual plastic bags.
All the children at nursery loved them, and many of the Mother’s complimented me. It was nice to have something different and not just a piece of printed paper.
I absolutely love this! We are just in the middle of planning our daughters 3rd birthday too x
I loved planning the party, I just feel deflated now it’s all over. Shame got to wait another 11 months until the next one. Hope your planning goes well.
These are so adorable and really simple to follow how they’re made. I think they’d be super cute for a Pirates & Mermaids party. <3